rth6360d1002 installation manual
Preparing for Installation
Ensure the power is off at the circuit breaker or fuse box. Verify the system is off by checking the thermostat display or HVAC operation. Gather tools like a screwdriver, wire cutters, and needle-nose pliers. Reference the quick installation guide for specific requirements and safety precautions to avoid damage or injury.
- Turn off power to the HVAC system completely.
- Check system status to confirm it is off.
- Gather necessary tools and materials before starting.
This step ensures a safe and organized installation process. Always follow the manufacturer’s guidelines for preparation.
1.1. Turning Off Power
Turning off the power is the first and most critical step in the installation process. Locate the circuit breaker or fuse box controlling your HVAC system and switch it off. Verify the system is completely off by checking the thermostat display or ensuring no air is circulating. If your old thermostat has a digital display, ensure it goes blank. Allow a few minutes to confirm the system has stopped running. This step ensures safety during the installation process.
- Switch off the HVAC system at the breaker or fuse box.
- Verify the system is off by checking the thermostat display or airflow.
- Wait a few minutes to ensure the system has stopped completely.
This ensures a safe working environment for the installation process. Always double-check the system status before proceeding.
1.2. Tools and Materials Needed
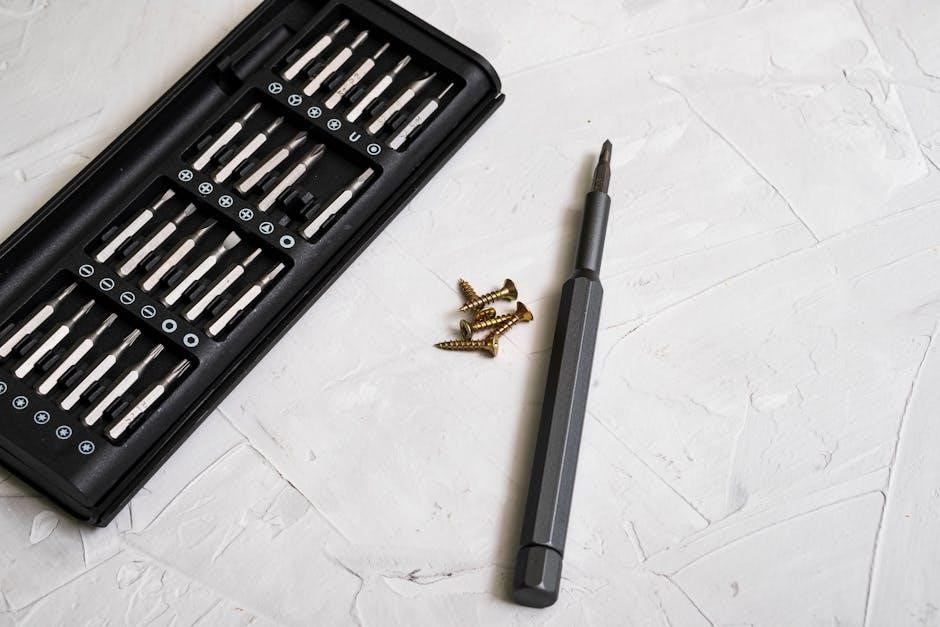
Gather essential tools and materials to ensure a smooth installation. You will need a Phillips screwdriver for removing the old thermostat and mounting the new one. Wire cutters and needle-nose pliers are necessary for safe handling of wires. A drill may be required if additional holes are needed for the mounting plate. Ensure you have screws, wall anchors, and any other hardware provided with the thermostat. Additionally, a voltage tester is recommended to confirm power is off, and masking tape can help label wires for easy identification. Having these tools ready will facilitate the process and prevent delays.
- Phillips screwdriver for removing and mounting thermostats.
- Wire cutters and needle-nose pliers for safe wire handling.
- Drill for making holes if needed.
- Screws and wall anchors for secure installation.
- Voltage tester to ensure power is off.
- Masking tape for labeling wires.
Having all tools and materials ready ensures a safe and efficient installation process. Always refer to the manual for specific requirements.

Removing the Old Thermostat
Turn off the power to the HVAC system at the circuit breaker. Gently pull the old thermostat away from the wall or remove screws securing it. Detach the unit carefully to avoid damaging wires or the mounting plate.
- Safely disconnect the thermostat from the wall or base plate.
Proceed with caution to prevent damage to wires or the system.
2.1. Detaching the Old Unit
Switch off the power at the circuit breaker before starting. Remove the screws holding the old thermostat in place. Gently pull the unit away from the wall, taking care not to damage any wires. If the thermostat is snapped onto the base plate, apply gentle pressure to release it. Avoid pulling wires; instead, disconnect them from the old unit carefully. Set the detached thermostat aside, ensuring wires remain intact for the new installation.
- Remove screws or release clips securing the thermostat.
- Gently pull the unit away from the wall or base plate.
Handle with care to prevent wire damage or electrical issues.
2.2. Labeling Wires
Before disconnecting wires from the old thermostat, label each wire with its corresponding terminal designation (e.g., R, W, Y, G, C, etc.). Use a wire stripper to expose ends if necessary. This step prevents confusion during the new thermostat installation. Match each wire to its function, ensuring accurate connections later. Proper labeling ensures the new thermostat operates correctly and avoids potential system issues. Take your time to clearly mark and organize the wires for a smooth installation process.
- Label each wire with its terminal designation.
- Use a wire stripper if needed to prepare connections.
- Organize wires to avoid tangles or mix-ups.
Accurate wire labeling is crucial for a successful installation.
Installing the New Thermostat
Mount the new thermostat plate on the wall using provided screws. Attach the thermostat to the plate, ensuring secure alignment. Connect labeled wires to corresponding terminals. Use a screwdriver for mounting and securing connections. This step requires careful alignment and proper wire placement to ensure functionality. Follow the manual for specific terminal assignments.
- Mount the plate securely on the wall.
- Attach the thermostat to the mounted plate.
- Connect wires to correct terminals for proper function.
Ensure all connections are tight and properly seated for reliable operation.
3.1. Mounting the Plate
Begin by removing the old thermostat and ensuring the wall is clean and level. Take the new thermostat plate and align it with the wall anchors or screws. Use the provided screws to secure the plate firmly to the wall, ensuring it is straight and level. Align the plate with the wires coming out of the wall to ensure proper connection. Tighten the screws gently but firmly to avoid damaging the plate or the wall. Double-check the alignment before proceeding to the next step.
- Ensure the wall is clean and properly prepared.
- Align the plate with wall anchors or screws.
- Secure the plate firmly with provided screws.
- Verify alignment and levelness before tightening.
Proper mounting ensures a stable base for the thermostat and prevents future issues with connectivity or performance.
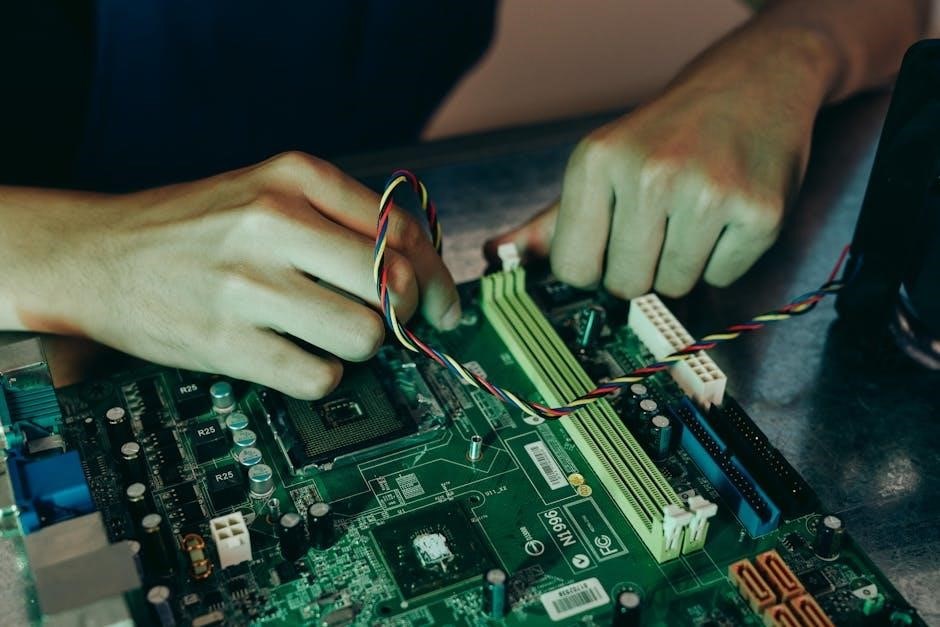
3.2. Connecting Wires
Connect the wires to the appropriate terminals on the new thermostat plate. Match each wire to its corresponding terminal (e.g., R, W, Y, G, C) based on the old thermostat’s wiring. Use a screwdriver to secure the wires tightly. If there are unused wires, cap them to prevent electrical issues. Ensure all connections are secure and properly insulated. Double-check the wiring diagram from the manual to confirm accuracy. Proper wiring ensures the thermostat functions correctly and avoids potential system malfunctions.
- Match wires to corresponding terminals.
- Secure wires firmly with a screwdriver.
- Cap unused wires for safety.
- Verify connections using the wiring diagram.
Accurate wiring ensures proper thermostat functionality and system performance.
3.3. Attaching the Thermostat
Align the thermostat with the mounting plate, ensuring it fits securely. Gently push the thermostat onto the plate until it clicks or snaps into place. Use the provided screws to fasten it tightly. Make sure the thermostat is level and evenly mounted. Once attached, close the battery compartment door or any access panels. Verify that the thermostat is firmly secured and properly aligned for accurate operation and a neat appearance.
- Align thermostat with the mounting plate.
- Secure with screws for a tight fit.
- Close compartments after installation.
- Check alignment for proper function.
A secure attachment ensures reliable performance and a professional finish.

Powering Up and Testing
Restore power at the circuit breaker or fuse box. Check the thermostat display for proper lighting and functionality. Test heating and cooling modes to ensure correct operation.
- Restore power to the system.
- Check display for proper function.
Verify system operation to ensure the thermostat is working correctly.
4.1. Restoring Power
After installing the thermostat, restore power at the circuit breaker or fuse box. Ensure the system is powered up correctly. Check the thermostat display for proper lighting and functionality. Verify that the HVAC system responds to temperature changes. If the display remains blank, check connections and power sources. Allow a few minutes for the system to initialize. Test basic operations like switching between heat and cool modes to confirm everything works as expected.
- Flip the circuit breaker or replace fuses.
- Check the display for power and functionality.
- Test system response to temperature adjustments.
Ensure the system operates correctly before proceeding to programming or further adjustments.
Programming the Thermostat
Access the menu to set temperature schedules for different days and times. Use the Smart Response feature for optimized comfort and energy efficiency. Program heating and cooling preferences to match your lifestyle, ensuring energy savings and consistent comfort. Refer to the manual for detailed instructions on customizing settings and activating advanced features.
- Set schedules for daily temperature adjustments.
- Enable Smart Response for adaptive comfort control.
- Customize settings to optimize energy usage.
Programming ensures efficient energy use and personalized comfort throughout the day.
5.1. Setting Schedules
Access the thermostat menu to set temperature schedules for different days and times. Use the 7-day programming feature to customize settings for weekdays and weekends. Set specific temperature points for morning, afternoon, evening, and night. Enable Smart Response technology to optimize comfort and energy efficiency. Save your schedule to ensure consistent temperature control. Refer to the manual for step-by-step instructions on navigating the menu and activating scheduled settings.
- Program temperature points for each time period.
- Customize settings for weekdays and weekends.
- Save your schedule for consistent operation.
Scheduling ensures energy efficiency and tailored comfort throughout the week.
5.2. Smart Response Technology
Enable Smart Response Technology to optimize comfort and energy efficiency. This feature learns your system’s operation and adjusts temperatures precisely. It ensures consistent comfort by anticipating heating or cooling needs. Activate it through the thermostat menu, following the manual’s instructions. Smart Response works seamlessly with scheduled settings to enhance performance and reduce energy consumption. Refer to the manual for detailed activation steps and customization options.
- Learns system behavior for precise temperature control.
- Anticipates heating/cooling needs for consistent comfort.
- Enhances energy efficiency while maintaining desired conditions.
Smart Response Technology improves overall system performance and user comfort.
Display Adjustments
Adjust the display settings for optimal visibility. Use the brightness setting to customize the screen’s illumination. Refer to the manual for detailed instructions on display customization.
Brightness settings ensure the display is easy to read in various lighting conditions.
6.1. Brightness and Settings
Adjust the display brightness to suit your preference. Access the menu to modify brightness settings, ensuring optimal visibility in various lighting conditions. Use the navigation buttons to increase or decrease brightness levels. Some models offer automatic brightness adjustment based on ambient light. Ensure the display is set to your desired brightness for ease of use. Refer to the manual for detailed steps on customizing display settings. Proper brightness ensures readability and enhances user experience.
Brightness settings can be adjusted to match your home’s lighting environment.
Additional Considerations
Ensure the system is off and tools are ready. Verify compatibility with your HVAC system. Check for firmware updates and consult the manual for troubleshooting tips.
7.1. Tools Readiness
Ensure all necessary tools are ready before starting. Essential tools include a screwdriver, wire cutters, needle-nose pliers, and a drill. Additional tools like a wire stripper and level may be needed. Verify the availability of these tools to prevent installation delays. Check the thermostat manual for specific requirements. Organize the tools in a accessible location for efficiency. Having all tools prepared ensures a smooth and hassle-free installation process.
- Screwdriver for mounting and wiring.
- Wire cutters for trimming wires.
- Needle-nose pliers for wire connections.
- Drill for wall mounting (if needed).
This preparation step ensures you are fully equipped to proceed with the installation without interruptions.
7.2. Troubleshooting
Common issues during installation include wires not connecting properly or the thermostat not turning on. If the display is blank, ensure power is restored. For internal memory errors, reset the thermostat by pressing and holding the Menu and buttons for 5 seconds. Refer to the manual for advanced menu options. Check wire connections for loose links. If the system doesn’t respond, verify wiring labels match the terminal designations. Systematic troubleshooting ensures optimal performance and resolves issues efficiently.
- Check power supply and wiring connections.
- Reset the thermostat if necessary.
- Verify wire labels match terminal designations.
Addressing these common issues ensures smooth operation and prevents further complications.

Final Testing
Turn the system on and check responsiveness. Test heating and cooling modes to ensure proper operation. Verify the display shows accurate temperatures and settings. Confirm all features function correctly.
- Test system operation in all modes.
- Verify display accuracy and feature functionality.
Final testing ensures the thermostat operates smoothly and meets your comfort needs.
8.1. Functionality Check
After installation, switch between heating and cooling modes to ensure proper operation. Check the display for accurate temperature readings and confirm all programmed schedules are active. Test Smart Response technology to verify it adapts to your settings. Ensure all features, like automatic changeover, function correctly. If issues arise, refer to the troubleshooting guide or check wire connections for loose links. This step ensures the thermostat operates seamlessly and meets your comfort expectations.
- Test heating and cooling modes for proper activation.
- Verify display accuracy and schedule functionality.
- Check Smart Response and other advanced features.
A thorough functionality check guarantees optimal performance and user satisfaction.
8.2. Exploring Features
Explore the Honeywell RTH6360D1002’s advanced features after installation. Utilize the 7-day programmable scheduling for customized comfort. Enable Smart Response technology for adaptive temperature control. Adjust the automatic system mode for seamless heating and cooling transitions. Customize the display settings, including brightness, to enhance user experience. These features optimize energy efficiency and comfort, ensuring your home remains cozy while reducing energy consumption. Familiarize yourself with all settings to maximize the thermostat’s capabilities.
- 7-day programming for tailored temperature settings.
- Smart Response for intelligent temperature adaptation.
- Automatic system mode for smooth transitions.
- Customizable display for enhanced visibility.
Exploring these features ensures you leverage the thermostat’s full potential for energy savings and comfort.