
unirac nxt installation manual
Welcome to the Unirac NXT installation manual‚ your comprehensive guide for installing solar mounting systems efficiently and safely. This manual provides step-by-step instructions‚ ensuring compliance with industry standards and optimal system performance.
1.1 Overview of the Unirac NXT UMOUNT System
The Unirac NXT UMOUNT system is a UL 3741 certified‚ open-channel‚ rail-based solar mounting solution designed for pitched roofs. It is suitable for both residential and commercial applications. This system is engineered to be stronger‚ lighter‚ and easier to install. It represents the next generation of Unirac’s proven flush-mount racking systems‚ designed with over two decades of industry experience and expertise.
1.2 Key Features and Benefits of the NXT System
The NXT system offers a lightweight‚ durable design with enhanced structural integrity. It is UL 3741 certified‚ ensuring compliance with safety standards. The open-channel rail design allows for easy module installation and flexibility in system layout. Its streamlined components reduce installation time‚ while the corrosion-resistant materials ensure long-term reliability. The system is versatile‚ accommodating various roof configurations and module orientations‚ making it ideal for both residential and commercial solar applications.

System Components and Tools Required
The NXT UMOUNT system includes rails‚ clamps‚ and fasteners. Tools like drills‚ wrenches‚ and sealant guns are essential for installation‚ ensuring durability and compliance with standards.
2.1 List of Components in the NXT UMOUNT Kit
The NXT UMOUNT kit includes rails‚ rail clamps‚ Stronghold attachments‚ butyl sealant‚ and fasteners. Additional components like rail splices‚ end caps‚ and grounding plates ensure a complete installation. These parts are designed for durability and ease of use‚ supporting a secure and weatherproof solar mounting system. Always refer to the manual for a detailed inventory of included items and optional accessories.
2.2 Tools and Materials Needed for Installation
Essential tools include a drill‚ impact wrench‚ measuring tape‚ level‚ and hex keys. Materials required are butyl sealant‚ lag bolts‚ and flashing. Ensure you have Personal Protective Equipment (PPE) like gloves and safety glasses. Additional items may include sealant guns and torque wrenches. Always verify the specific requirements in the manual for your particular installation setup and ensure all materials are compatible with the NXT UMOUNT system.
Safety Considerations and Precautions
Adhere to safety guidelines‚ wear PPE‚ and ensure proper grounding. Follow UL 3741 and NEC standards for electrical safety. Always maintain a clean‚ stable work environment.
3.1 General Safety Guidelines for Solar Installations
Always follow industry safety standards like UL 3741 and NEC guidelines. Ensure proper grounding and electrical connections to prevent shock hazards. Wear appropriate PPE‚ including gloves and safety glasses. Maintain a clean‚ stable work environment to minimize risks. Keep loose clothing and jewelry tied back. Ensure all tools and equipment are in good condition. Follow the installation manual and manufacturer instructions for safe and compliant system setup.
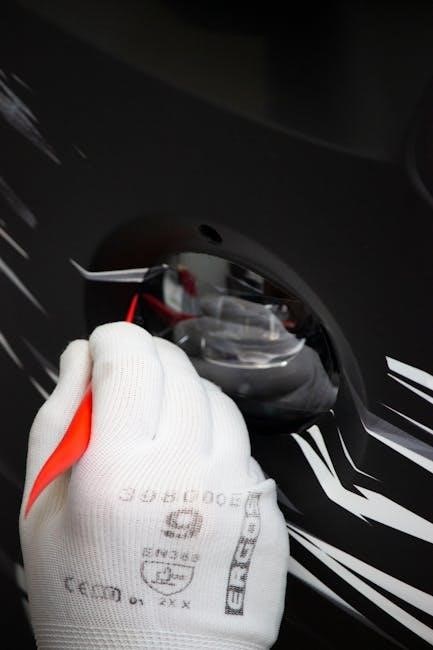
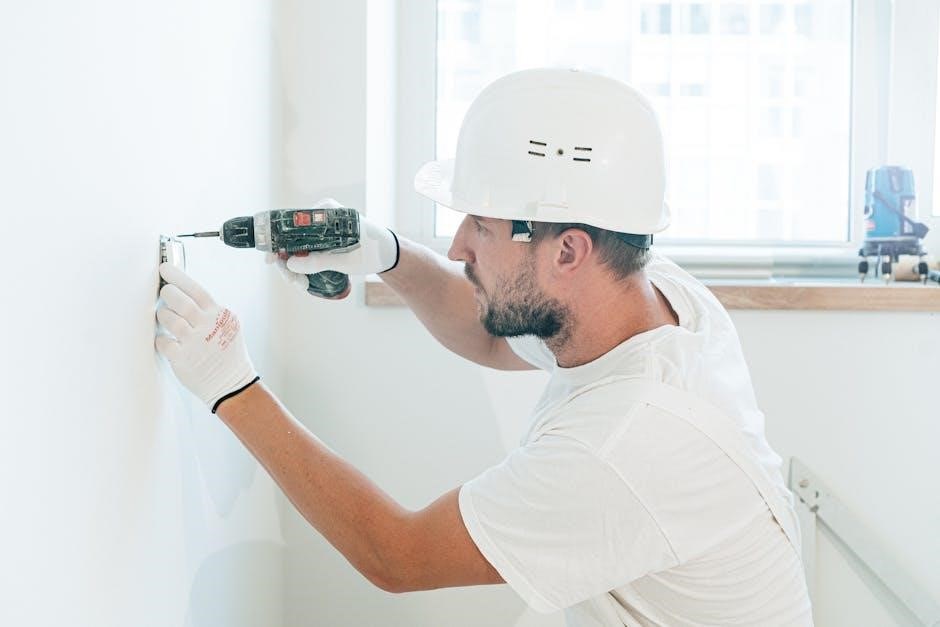
3.2 Personal Protective Equipment (PPE) Requirements
Wearing appropriate PPE is crucial for ensuring safety during solar installations. Required gear includes hard hats‚ safety glasses with side shields‚ gloves‚ steel-toe boots‚ and high-visibility vests. This equipment protects against hazards such as falling objects‚ electrical shocks‚ and slips. Always adhere to industry standards like UL 3741 and NEC guidelines. Proper PPE ensures compliance and enhances workplace safety.

Planning and Design Considerations
Proper planning ensures efficient solar installation‚ focusing on system layout‚ structural compatibility‚ and compliance with standards like UL 3741. This step guarantees safety and optimal performance.
4.1 System Layout and Configuration Options
The NXT UMOUNT system offers flexible layout options‚ allowing rails to be installed parallel or perpendicular to rafters. Center the installation area over structural members for stability. Use the rail as a straight edge for precise layouts. Ensure compliance with the Unirac NXT D&E Guide and U-Builder for optimal rail spans and cantilevers. Proper configuration ensures a secure and efficient solar mounting system.
4.2 Rail Spans and Cantilevers: Design and Engineering Guide
Refer to the Unirac NXT D&E Guide and U-Builder for detailed rail span and cantilever calculations. Ensure designs account for roof type‚ load requirements‚ and environmental factors. Maximum spans and cantilevers must comply with engineering guidelines to maintain system integrity. Properly designed rail layouts ensure structural stability and adherence to safety standards‚ optimizing solar array performance and durability.
Roof Preparation and Attachment
Proper roof preparation ensures secure attachment of the NXT UMOUNT system. Locate and mark attachment positions‚ install flashing‚ and apply sealant as per manufacturer guidelines. Conduct structural assessments to guarantee safety and durability.
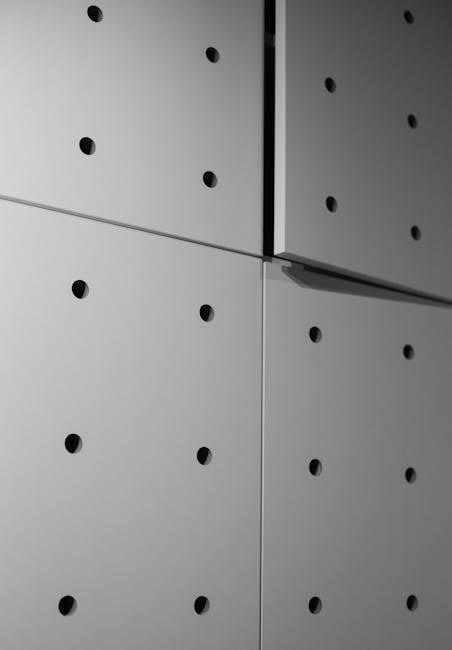
5.1 Locating and Marking Roof Attachment Positions
Accurate location and marking of roof attachment positions are critical for a secure installation. Use the NXT UMOUNT system’s design guide and U-Builder tool to determine optimal spacing and alignment. Ensure marks align with structural members for maximum stability. Center the installation area over rafters or trusses to distribute weight evenly. Refer to the manual for detailed instructions on marking and verifying positions before drilling or attaching hardware.
5.2 Installing Flashing and Sealant for Weatherproofing
Ensure proper weatherproofing by installing flashing and sealant as outlined in the manual. Position the Stronghold attachment correctly and inject the UNIRAC-provided sealant into the designated port until it exits the vent. Follow the manufacturer’s guidelines‚ especially for cold weather application. Proper sealing prevents water infiltration and ensures long-term system reliability. Refer to the manual for detailed instructions on flashing placement and sealant application.

Installation Steps for the NXT UMOUNT System
Begin with the Stronghold attachment and rail clamp assembly. Position the rail clamp‚ install the Stronghold‚ and ensure proper alignment. Follow the manual for detailed steps.
6.1 Stronghold Attachment Installation
Locate and mark the roof attachment position‚ ensuring alignment with rafters. Apply butyl sealant to the Stronghold base‚ then insert it into the marked slot. Tighten the set screw until snug‚ ensuring weatherproofing. Torque the bolt to the specified value. Refer to the Design and Engineering Guide for spacing and structural requirements. Ensure compliance with UL 3741 standards for a secure installation.
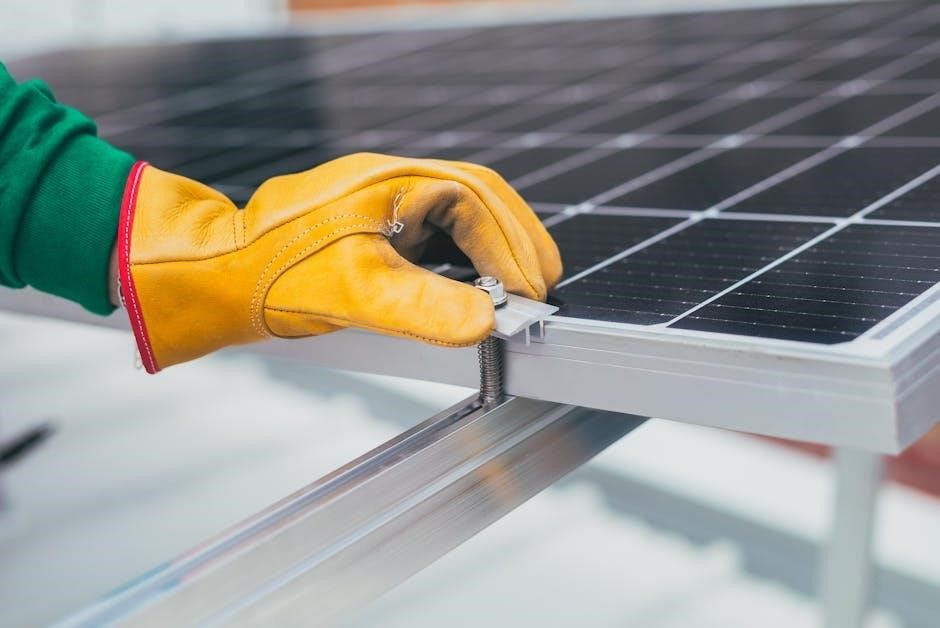
6.2 Rail Clamp Assembly and Rail Installation
Assemble the rail clamps by securing them to the Stronghold base‚ ensuring proper alignment. Insert the rail into the clamp and fasten with bolts‚ tightening to the specified torque. For longer spans‚ attach rail splices as needed. Ensure all connections are secure and aligned for stability. Verify compliance with UL 3741 standards for a safe and reliable installation.
Final System Check and Testing
Verify rail alignment‚ tighten all bolts to specified torque‚ and ensure weatherproofing is intact. Test the system to confirm compliance with safety and performance standards.
7.1 Verifying Rail Alignment and Tightening Bolts
After installation‚ inspect the rail alignment to ensure straightness and proper positioning. Check all bolts for tightness‚ adhering to the torque specifications provided in the manual. Verify that no bolts are loose‚ as this could compromise the system’s structural integrity. Use a torque wrench to secure bolts correctly‚ ensuring a safe and stable installation that meets all safety standards and manufacturer recommendations.
7.2 Ensuring Compliance with UL 3741 and NEC Standards
The NXT UMOUNT system is UL 3741 Listed and complies with NEC 690.12(B)(2)(1) when installed correctly. Ensure all components meet these standards by following the installation manual and addendum. Verify proper grounding‚ bonding‚ and electrical connections. Refer to the PVHCS guide for compliance with fire and safety regulations. Always follow local building codes and manufacturer instructions to maintain system certification and ensure a safe‚ code-compliant installation.
Troubleshooting Common Issues
Identify common installation issues like misalignment or loose connections. Refer to the troubleshooting guide for solutions. Address sealant application problems promptly to ensure system integrity and performance.
8.1 Addressing Misalignment or Loose Connections
Misalignment or loose connections can compromise system stability. Check rail clamps and bolts for proper tightening; Ensure all components align with manufacturer specifications. Refer to the manual for torque values and adjustment procedures. Re-tighten connections as needed. Verify alignment using a straight edge. Contact Unirac support if issues persist after adjustments.
8.2 Solving Sealant Application Problems
Sealant issues‚ such as incomplete coverage or leakage‚ require immediate attention. Ensure proper application by following the manufacturer’s instructions. Clean surfaces before applying sealant. Use the provided UNIRAC tool for even distribution. Avoid overfilling ports‚ as this can cause blockages. Inspect all seams post-application. If problems persist‚ consult the troubleshooting guide or contact Unirac support for assistance.
Maintenance and Inspection Guidelines
Regularly inspect the system for alignment issues‚ clean debris‚ and ensure all connections are secure. Follow the maintenance schedule to ensure optimal performance and longevity.
9.1 Regular Inspection Schedule for Optimal Performance
Regular inspections are crucial for maintaining the NXT UMOUNT system’s performance and safety. Inspect the system quarterly‚ checking for loose connections‚ alignment issues‚ and debris buildup. Ensure all bolts and clamps are tightened to the specified torque. Visually examine the roof attachments and rail structure for damage or corrosion. Document findings and address any issues promptly to prevent system degradation and ensure compliance with safety standards.
9.2 Cleaning and Upkeeping the NXT UMOUNT System
Regular cleaning and maintenance ensure the NXT UMOUNT system operates efficiently. Clean solar modules and mounting hardware to remove dirt‚ debris‚ or corrosion; Use soft brushes or mild detergents‚ avoiding abrasive materials. Inspect and clean junction boxes‚ connectors‚ and grounding points. Lubricate moving parts if necessary. Schedule annual professional inspections to address potential issues early. Proper upkeep extends system lifespan and maintains peak performance.
Warranty and Support Information
Unirac offers a comprehensive warranty program covering manufacturing defects. For support‚ contact their team directly through the official website or refer to the provided contact details.
10.1 Understanding the Unirac Warranty Program
The Unirac warranty program ensures protection against manufacturing defects for a specified period. It covers system components and provides repair or replacement options. Exclusions may apply for improper installation or environmental damage. For detailed terms and conditions‚ refer to the official warranty document or contact Unirac support. Proper installation and adherence to guidelines are essential for warranty validity.
10.2 Contacting Unirac Support for Assistance
For technical support or installation guidance‚ contact Unirac’s dedicated support team via phone‚ email‚ or their official website. Their experts are available to address inquiries‚ troubleshoot issues‚ and provide detailed documentation. Ensure to have your system details ready for efficient assistance. Unirac’s support resources are designed to help installers achieve a successful and compliant installation‚ adhering to the manual’s guidelines.